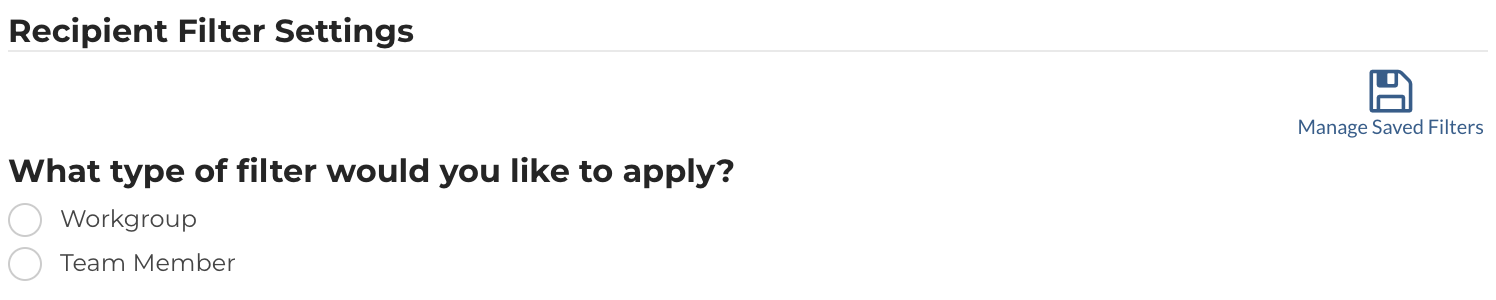
Recipient Filter Settings
Recipient Filter Settings
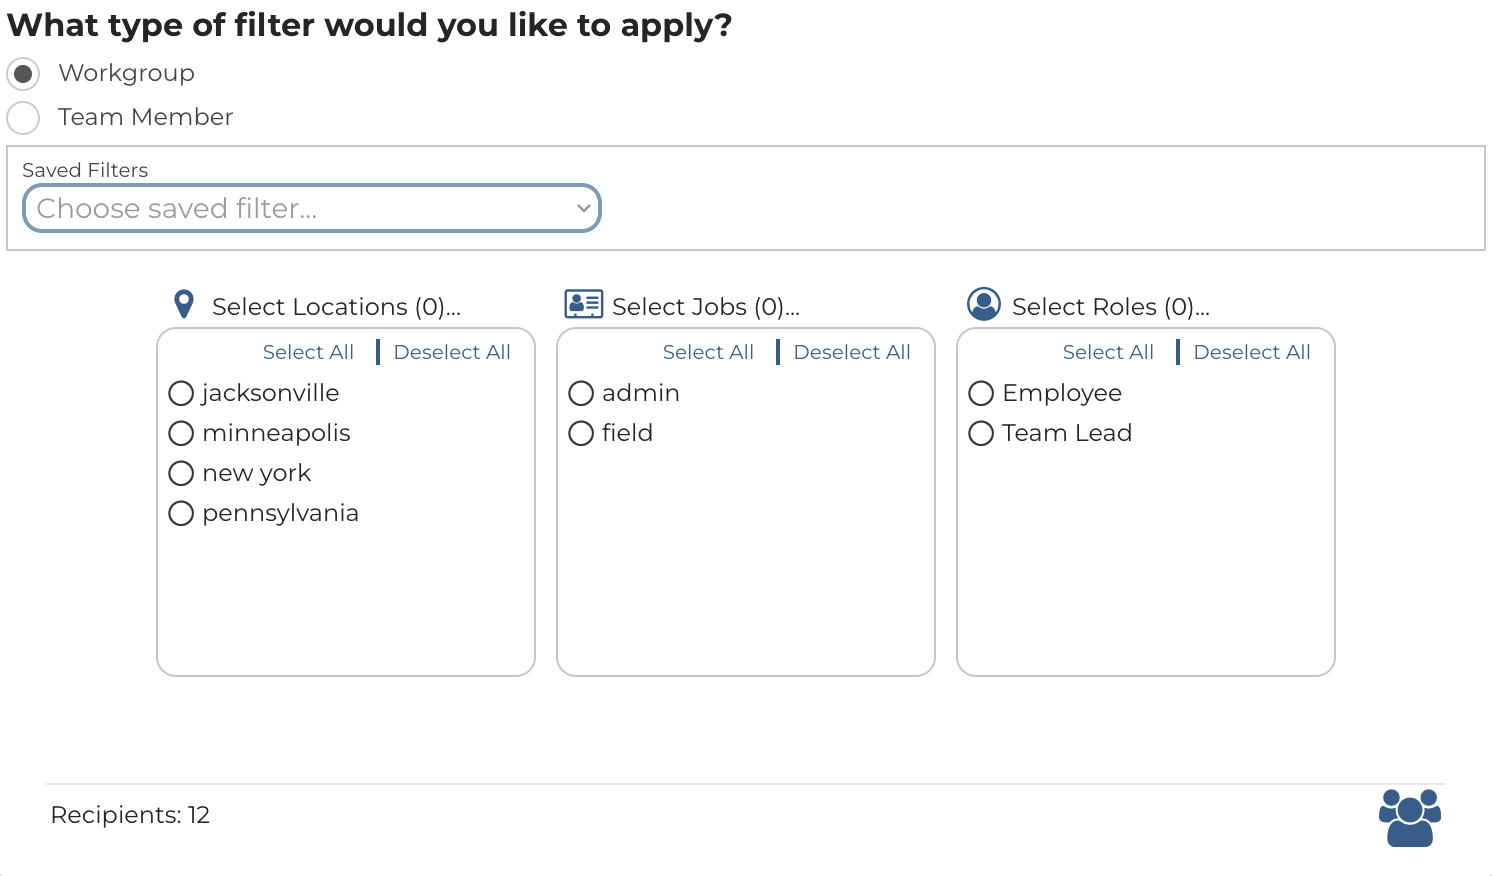
Workgroup Filter Settings (Start)
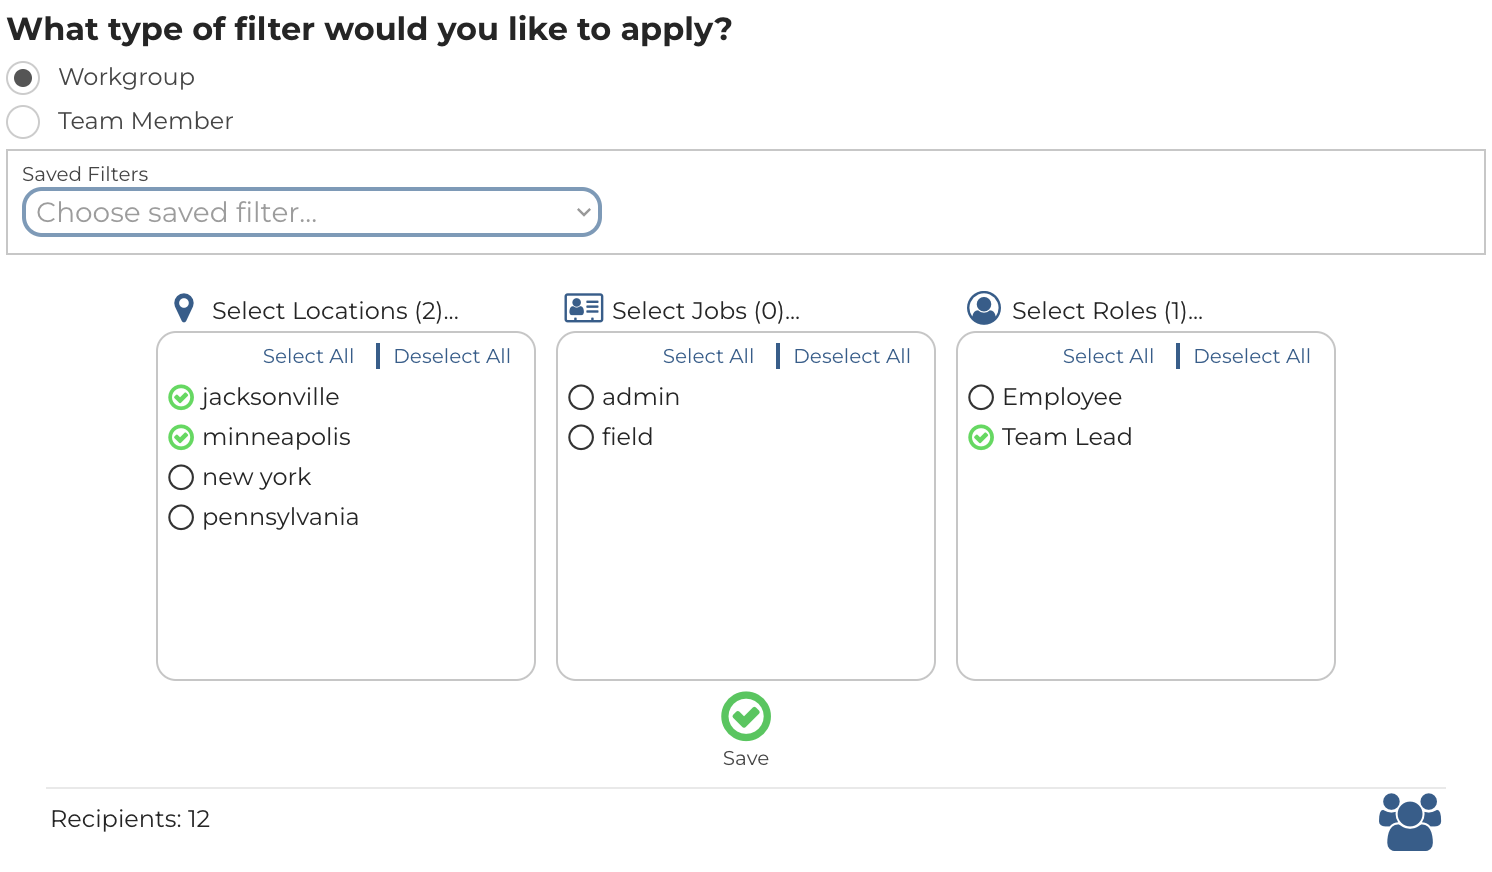
Workgroup Filter Settings (Before Creation)
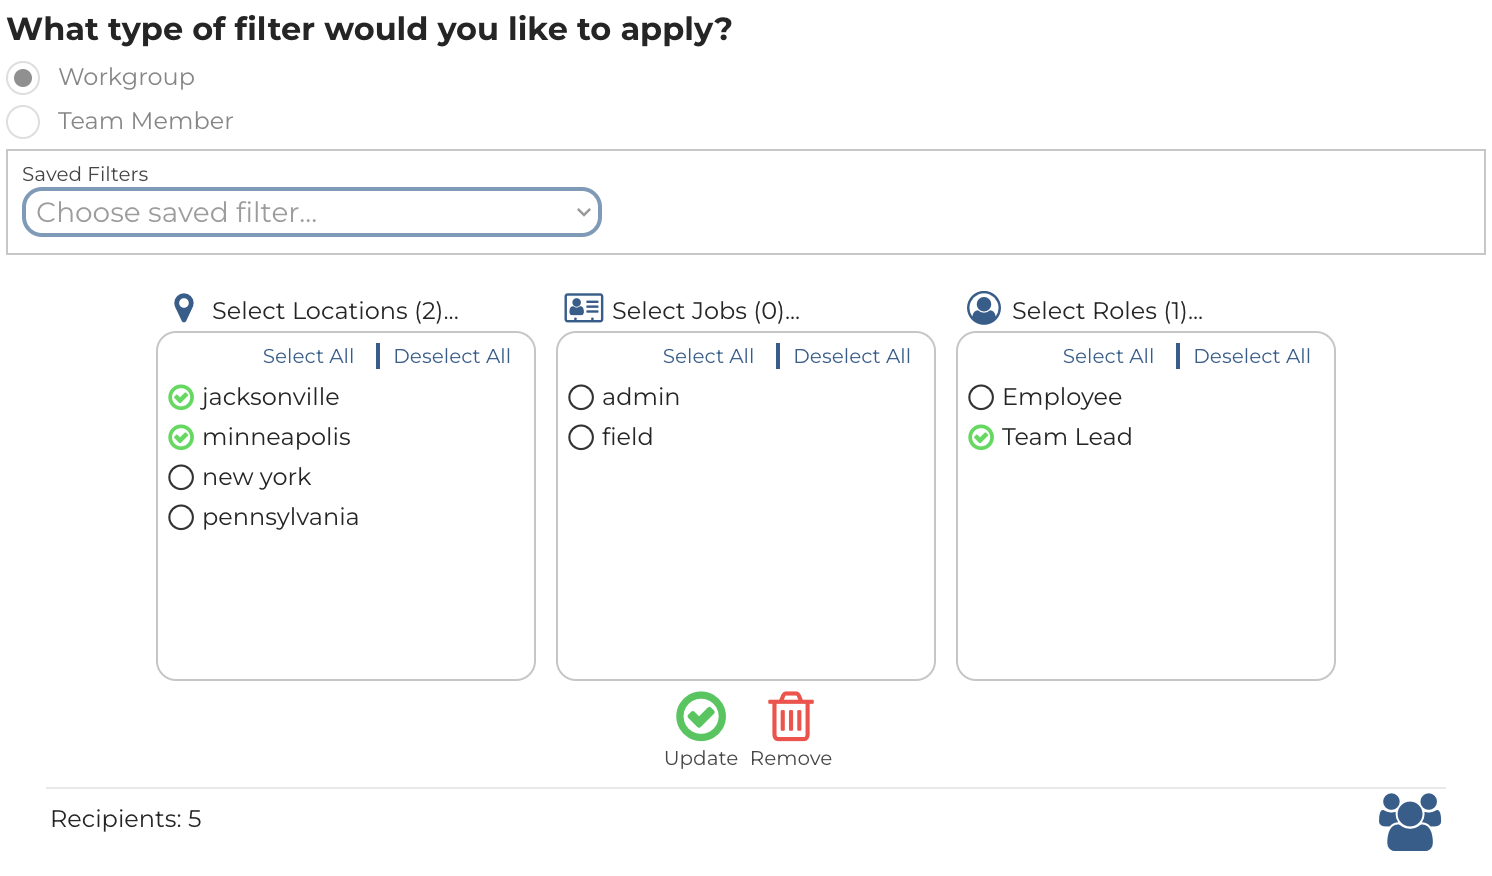
Workgroup Filter Settings (Maintain)
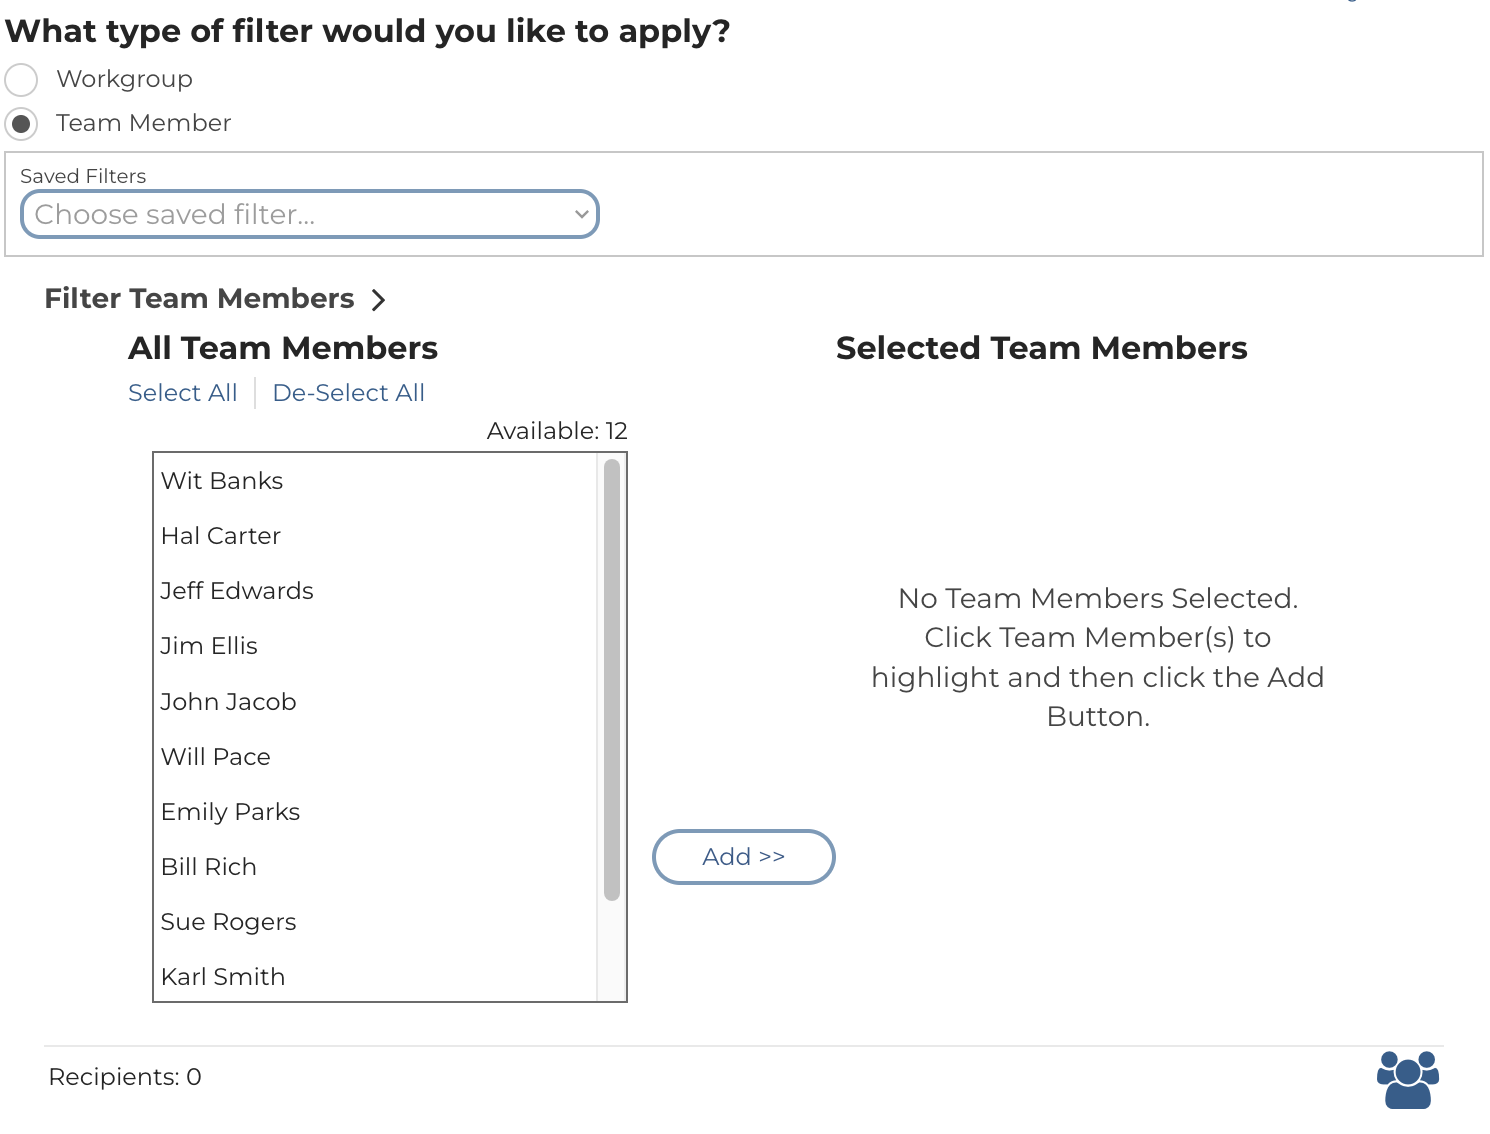
Team Member Filter Settings (Start)
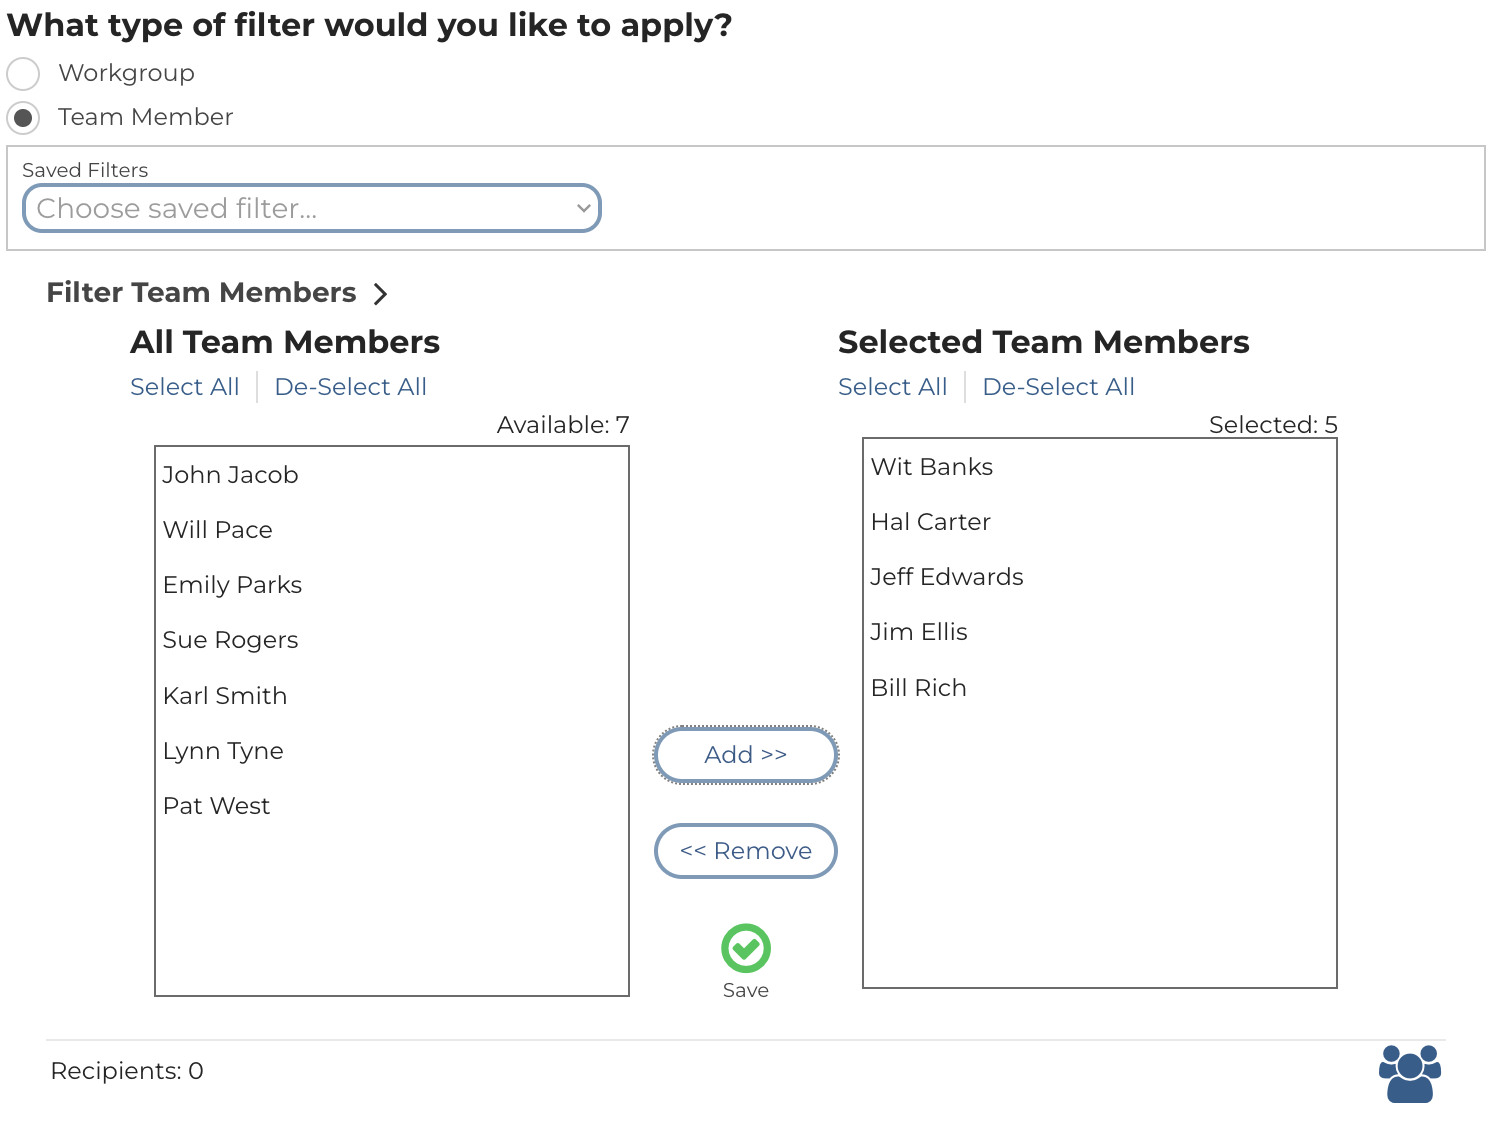
Team Member Filter Settings (Before Creation)
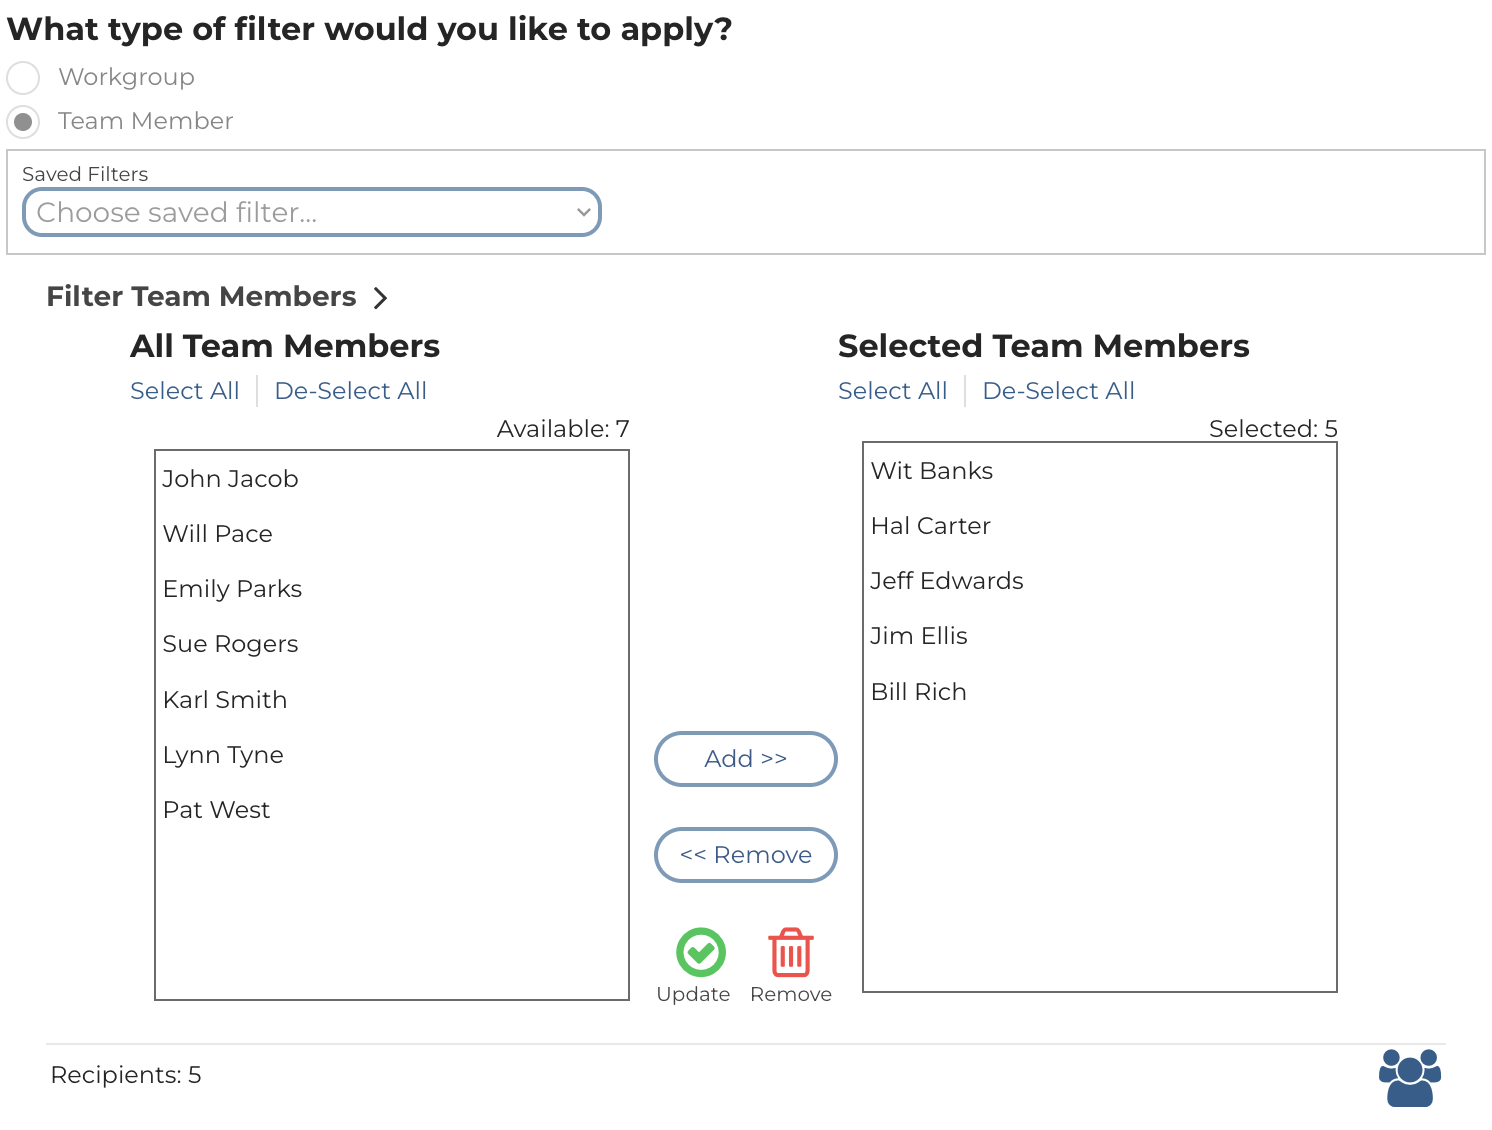
Team Member Filter Settings (Maintain)

Dynamic Filter Controls
 icon found on the Team Alert or Scheduling pages or, while creating/editing a filter, by clicking on the
  icon.
icon.

Saved Filter List
.svg?alt=media&token=28b6ba71-8845-4059-b514-e4d5f7e6075b) icon beside the desired content
4. Click the "Exit Edit Mode" to return to the Saved Filter list
#### Apply a Saved Filter
When configuring a filter there is an option to apply a saved filter. Click the saved filter dropdown and choose an available option. Choose whether the saved filter will be applied as static (default) or dynamic. Click the Apply button to populate the filter with the saved filter's values. See the [Static versus Dynamic ](#static-versus-dynamic-filters)guide for an explanation of the difference between the two options.
icon beside the desired content
4. Click the "Exit Edit Mode" to return to the Saved Filter list
#### Apply a Saved Filter
When configuring a filter there is an option to apply a saved filter. Click the saved filter dropdown and choose an available option. Choose whether the saved filter will be applied as static (default) or dynamic. Click the Apply button to populate the filter with the saved filter's values. See the [Static versus Dynamic ](#static-versus-dynamic-filters)guide for an explanation of the difference between the two options.